I recently received new equipment for setting up 4 new WALT mini-platforms, for use by trainees or for making a demo of WALT at Kaizen Solutions. The first thing to do is to install the WALT server component, and this will be the topic of this blog entry. The next blog post (february 2025) will show how to connect other equipment (switches and Raspberry Pi nodes) to the platform.
This blog post more or less follows the documentation page for WALT server installation.
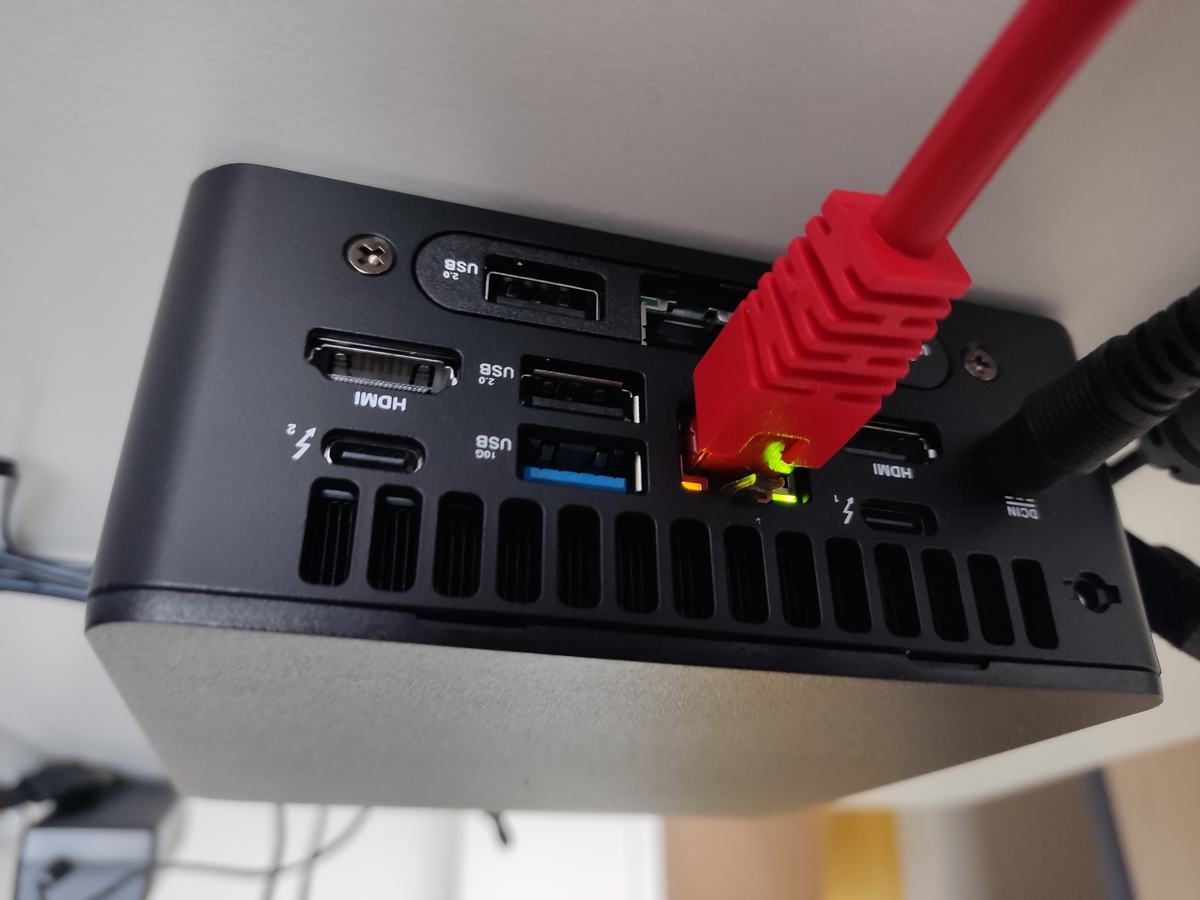
Selecting server machine equipment
For this kind of mini-platform, I selected the ASUS NUC 13 mini-pc with its extension providing a second wired interface1.

I connected the mini-PC to the local LAN using the top interface connector, and later (in the next blog post) we will use the bottom one for the WALT network (i.e., for connecting network switches and WALT nodes).
Installing a Debian OS
We first need a minimal Debian OS, version bookworm, so I flashed a USB stick with the official mini.iso installation image and booted the mini-PC with that. When prompted about the packages to install, I unchecked “Debian desktop environment” and “GNOME”2 and enabled the “SSH service”.3
Installing WALT software dependencies
After that I could connect remotely and install WALT dependencies, as root user:
root@asus-minipc:~# apt update
root@asus-minipc:~# apt install -y gcc python3-venv python3-dev libsmi2-dev curl git make
Installing and configuring WALT
Then I could continue with WALT software installation.
root@asus-minipc:~# python3 -m venv /opt/walt-9.0
root@asus-minipc:~# /opt/walt-9.0/bin/pip install --upgrade pip
root@asus-minipc:~# /opt/walt-9.0/bin/pip install walt-server walt-client
The tool called walt-server-setup automates the remaining steps:
root@asus-minipc:~# /opt/walt-9.0/bin/walt-server-setup
Detecting wired network interfaces... done
note: ignored enp86s0, already in use as a default gateway.
Entering network configuration editor...
At this time, walt-server-setup starts an interactive interface for setting up the network configuration:
Please review and validate or edit the proposed network configuration.

┌ WalT network configuration ───────────────────────────────────────────────────────┐
│                                                                                   │
│ network   description       phys. intf.                   ip mode  ip conf        │
│ --------  ----------------  ----------------------------  -------  -------------- │
│ walt-net  platform network  none (virtual-only platform)  static   192.168.5.1/24 │
└───────────────────────────────────────────────────────────────────────────────────┘
Configuration status: OK

Main menu (use arrow keys to browse, <enter> to select):
>  edit walt-net configuration
   display help page about WalT networking
   validate and quit
In the default setup, WALT will be configured as a virtual-only platform, i.e., it will not use any physical network. This can be enough if you installed WALT only for experiments with virtual nodes.
In our case, we have a dedicated wired interface for managing the WALT network, so let’s reconfigure this.
By using arrow keys and <enter> we can select edit walt-net configuration, and then define the physical interface, which takes us to the following menu:
Please select on which interface walt-net should be connected:
>  enp87s0 -- mac address 48:21:0b:61:21:50
   None -- virtual-only platform, start with this if unsure
As you might guess, enp87s0 is the bottom interface of the mini-PC. WALT was smart enough to exclude the other interface from the possible items since it is already in use as default network gateway. (If you scroll back a little, you can see that walt-server-setup did print a message about this, just before starting the interactive interface.)
After selecting enp87s0, the configuration becomes:
┌ WalT network configuration ────────────────────────────────────────────────────┐
│                                                                                │
│ network   description       phys. intf.  vlan tagging  ip mode  ip conf        │
│ --------  ----------------  -----------  ------------  -------  -------------- │
│ walt-net  platform network  enp87s0      No            static   192.168.5.1/24 │
└────────────────────────────────────────────────────────────────────────────────┘
Perfect, so we can return to main menu and then validate and quit.
After that, another interactive editor starts, for configuring which OS image registries WALT should pull and push OS images from:
Entering registries configuration editor...

Please review and validate or edit the proposed configuration of image registries.

┌ WalT image registries ───────────────────────────────────────────────┐
│                                                                      │
│ label  api         description                        configuration  │
│ -----  ----------  ---------------------------------  -------------- │
│ hub    docker-hub  Public registry at hub.docker.com  <not-editable> │
└──────────────────────────────────────────────────────────────────────┘
Configuration status: OK

Main menu (use arrow keys to browse, <enter> to select):
   disable the docker hub registry
   connect to a custom docker image registry
   connect to a JFrog Artifactory instance
   display help page about WalT registries
>  validate and quit
This time the default setup is fine for us: the only image registry we will use is the Docker Hub.
So we can just validate and quit this 2nd interactive editor.
Next, walt-server-setup continues with more installation steps:
Updating /etc/apt/sources.list (backup at /etc/apt.backups/121924114759/sources.list)
Tuning package manager for non-interactive use... done
[...]
Updating bash & zsh completion for walt tool... done
** Your WalT server is ready. **
root@asus-minipc:~#
And that’s it, this new WALT server is ready!
Below, we will start to use it right away.
Testing with virtual nodes
Even if we did not connect any physical equipment yet, we can already play with WALT and its virtual nodes.
WALT client software is automatically installed on the server, so we can stay on the same machine for this task. But obviously, it is recommended to switch to a different (non-root) user.
$ ssh etienne@asus-minipc
etienne@asus-minipc:~$
OK, let’s run our first walt command:
etienne@asus-minipc:~$ walt node create vnode1
You are a new user of this WalT platform, and this command requires a few configuration items.
Do you intend to push or pull images to/from the docker hub? (y/n): y
Please get an account at hub.docker.com if not done yet, then specify credentials here.
username: eduble
password:

Testing provided configuration...
OK.

Note: eduble will also be your username on the WalT platform.

Configuration was updated in /home/etienne/.walt/config.

Downloading default image for "pc-x86-64"...
Default image for pc-x86-64 was saved as "pc-x86-64-default" in your working set.
Node vnode1 is now booting your image "pc-x86-64-default".
Use `walt node boot vnode1 <other-image>` if needed.
etienne@asus-minipc:~$
Several things happened here:
- Since it was my first
waltcommand line, I had to indicate my credentials for pushing or pulling WALT images from the docker hub. - Since it was the 1st virtual node on this WALT platform, the system automatically downloaded a default OS image suitable for them (from the Docker Hub).
- And finally,
vnode1was created.
Obviously, if we create a 2nd virtual node, the output is much less verbose this time:
etienne@asus-minipc:~$ walt node create vnode2
Node vnode2 is now booting your image "pc-x86-64-default".
Use `walt node boot vnode2 <other-image>` if needed.
etienne@asus-minipc:~$
Let’s verify that our virtual nodes are available now:
etienne@asus-minipc:~$ walt node show

You currently own the following nodes:

name    type     model      image              ip             netsetup  booted
------  -------  ---------  -----------------  -------------  --------  ------
vnode1  virtual  pc-x86-64  pc-x86-64-default  192.168.108.2  LAN       yes
vnode2  virtual  pc-x86-64  pc-x86-64-default  192.168.108.3  LAN       yes

Re-run with --all to see all available nodes.
Type `walt help show node-ownership` for help.
etienne@asus-minipc:~$
We can do many things with virtual nodes but that is another story. Here, I will just connect to vnode1 and run a few basic commands:
etienne@asus-minipc:~$ walt node shell vnode1
Caution: changes outside /persist will be lost on next node reboot.
Run 'walt help show shells' for more info.
[...]
root@vnode1:~# uname -a
Linux vnode1 6.1.0-18-amd64 #1 SMP PREEMPT_DYNAMIC Debian 6.1.76-1 (2024-02-01) x86_64 GNU/Linux
root@vnode1:~#
root@vnode1:~# ping vnode2.walt
PING vnode2.walt (192.168.108.3) 56(84) bytes of data.
64 bytes from vnode2.walt (192.168.108.3): icmp_seq=1 ttl=64 time=0.483 ms
64 bytes from vnode2.walt (192.168.108.3): icmp_seq=2 ttl=64 time=0.665 ms
64 bytes from vnode2.walt (192.168.108.3): icmp_seq=3 ttl=64 time=0.625 ms
^C
--- vnode2.walt ping statistics ---
3 packets transmitted, 3 received, 0% packet loss, time 2003ms
rtt min/avg/max/mdev = 0.483/0.591/0.665/0.078 ms
root@vnode1:~#
root@vnode1:~# exit
Connection to 192.168.108.2 closed.
etienne@asus-minipc:~$
Everything looks fine!
Concluding words
As you can see, installing a WALT server is an easy task with recent WALT software. Those of you who installed WALT a long time ago, before walt-server-setup was implemented, probably had a more cumbersome experience.
Note that walt-server-setup is also useful for platform maintenance:
- We can update the platform configuration (network or OS image registries) by typing
walt-server-setup --edit-conf. - The WALT server upgrade procedure also relies on
walt-server-setup.
After these few simple steps, we get a viable platform for experimenting with virtual nodes. In the next blog post, we will extend this platform with physical equipment, such as a network switch and a Raspberry Pi node.
This blog post probably left you with an irresistible urge to install a WALT platform, sorry about that! :laughing: If you have questions, we can answer you on the mailing list.
-
If you buy the same kind of hardware, feel free to contact us for advice: mounting the extension is a little tricky. ↩︎
-
Desktop environments try to reconfigure the network interfaces when they start, thus they conflict with WALT software. ↩︎
-
We can provide more details about the Debian OS installation steps, so feel free to contact us. ↩︎